How to Trigger AI Voice Agent Calls from Any CRM
Prerequisites: Complete Agent Builder Overview first.
What can Automations do?
The power of a Thoughtly Voice Agent comes from its ability to connect to other software and systems. Automations are the key to unlocking this power, allowing you to do a number of advanced tasks. Here are just a few examples:Call Lead on New CRM Entry
Automations can turn your CRM into a powerful “brain” that powers your Voice Agents, allowing them to access and update customer records in real-time.
When a new lead is added to your CRM, you can trigger an Automation to trigger your Voice Agents to make a call, who can then reach out to the lead and update the CRM with the outcome.
When a new lead is added to your CRM, you can trigger an Automation to trigger your Voice Agents to make a call, who can then reach out to the lead and update the CRM with the outcome.
Fetch Data on Inbound Call
Using the Inbound Call trigger, when a call comes in, you can trigger an Automation to retrieve data from your CRM, Google Sheets, or other software. Once the data is retrieved, you can connect the call to your Voice Agents with all the information they need to have a productive conversation.
This allows your Voice Agents to have all the information they need to have a productive conversation with the caller, whether it’s real-time stock prices, customer purchase history, or current inventory levels.
This allows your Voice Agents to have all the information they need to have a productive conversation with the caller, whether it’s real-time stock prices, customer purchase history, or current inventory levels.
Daily Calls to New Leads
Using the Recurring Schedule trigger, you can set up an Automation to run at a specific time every day, week, or month. There are endless possibilities for what you can do with this, from sending out appointment reminders, making calls to new leads during business hours, or just checking in with customers on a regular basis.
When used in conjunction with other Actions, you can create complex workflows that run automatically, without any manual intervention.
When used in conjunction with other Actions, you can create complex workflows that run automatically, without any manual intervention.
Call Lead after Form Submission
Automations can be triggered by a wide variety of events, including form submissions. Using available Integration Triggers that connect to form software like Typeform, Google Forms, Meta Ads, GoHighLevel Forms, or JotForm, you can trigger an Automation to call a lead immediately after they submit a form.
This allows you to reach out to leads while they’re still engaged, increasing the likelihood of a successful conversation.
This allows you to reach out to leads while they’re still engaged, increasing the likelihood of a successful conversation.
- Triggers: Events that start the automation (e.g., new CRM lead, call completed)
- Actions: Tasks the automation performs (e.g., make a call, send SMS, update CRM)
Creating Your First Automation
To create a new Automation, open Tools → Automations in the primary navigation (or go directly to Automations). From there, you can create a new Automation, or view and edit existing Automations.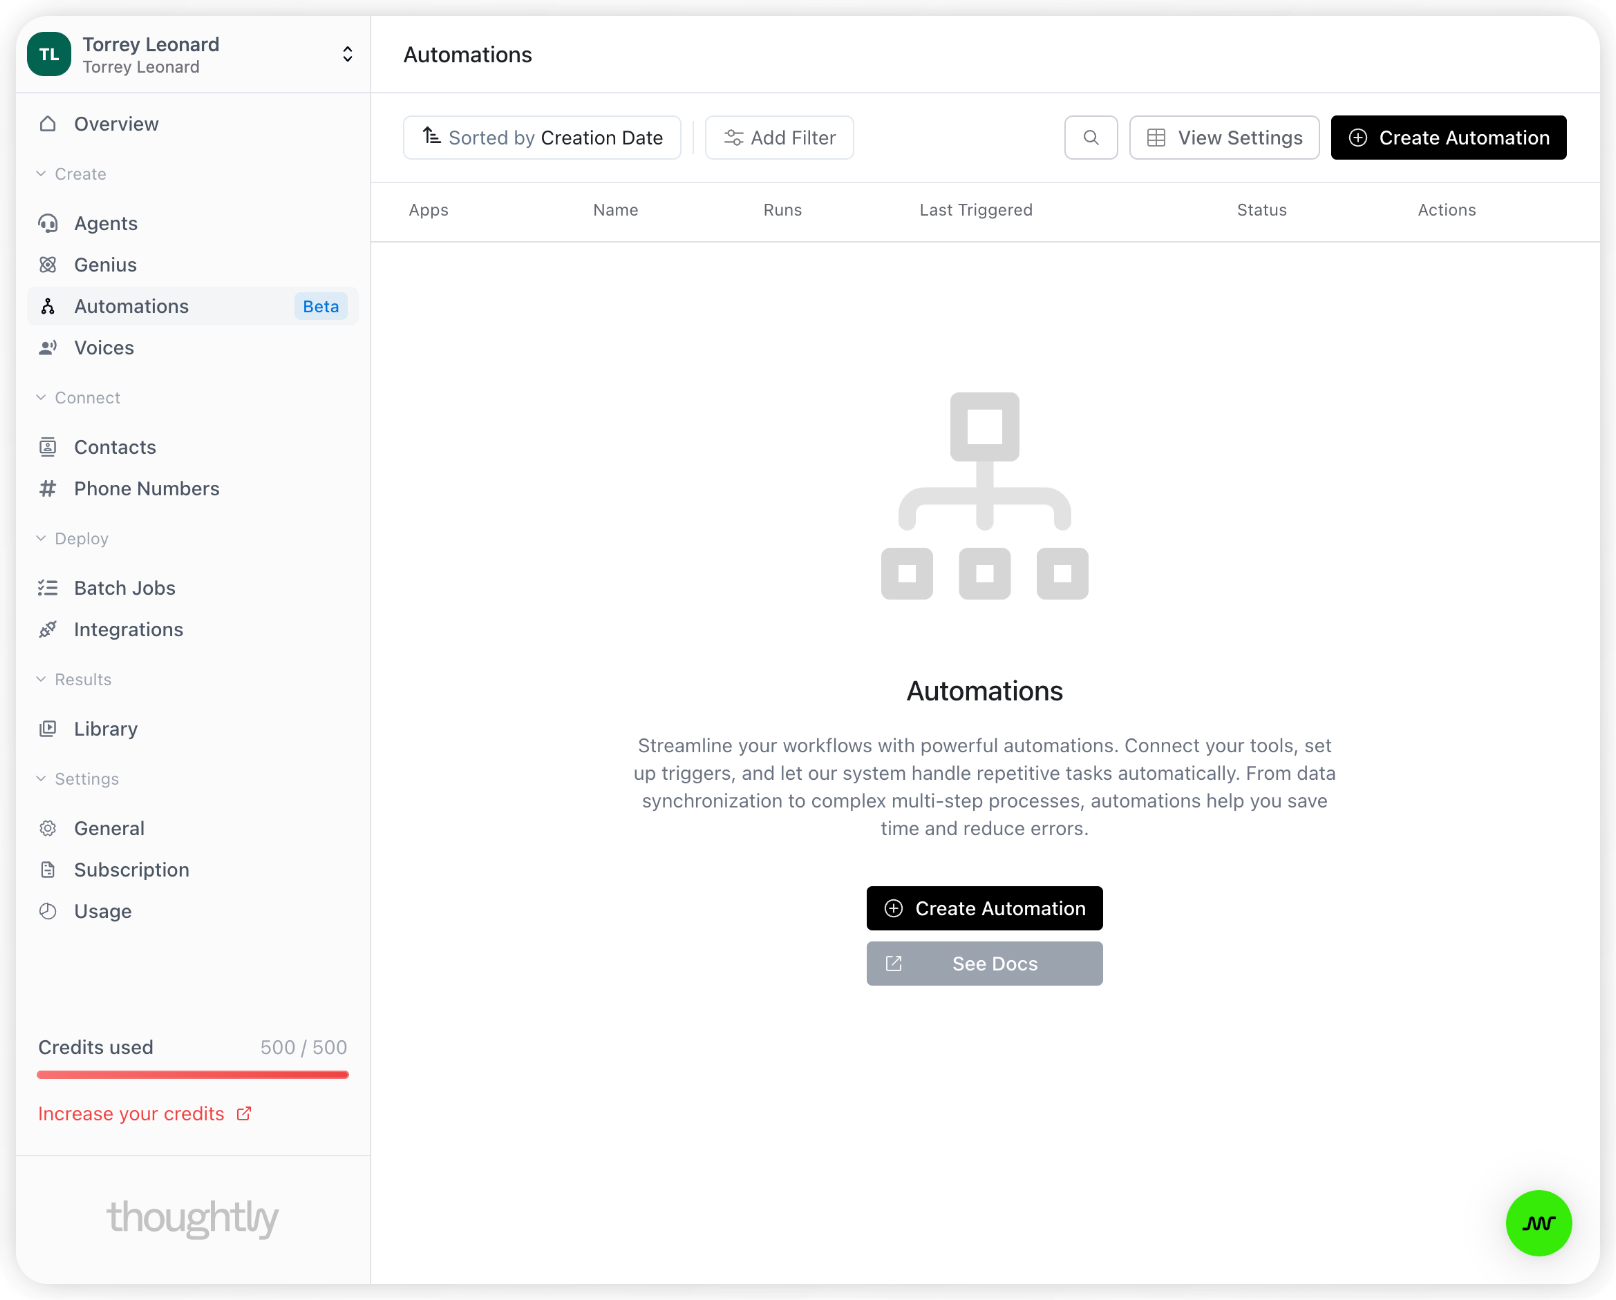
Post-Call Automations: Send AI Call Data Back to Your CRM
Activating Your Automation
By default, Automations are created in a “draft” state, meaning they won’t run until you activate them. To activate an Automation, simply click the “Activate” button in the top right corner of the Automation editor. Once the Automation is activated, it will run every time the Trigger event occurs. Thoughtly will continuously monitor for the Trigger event, then run the subsequent Actions when the event occurs.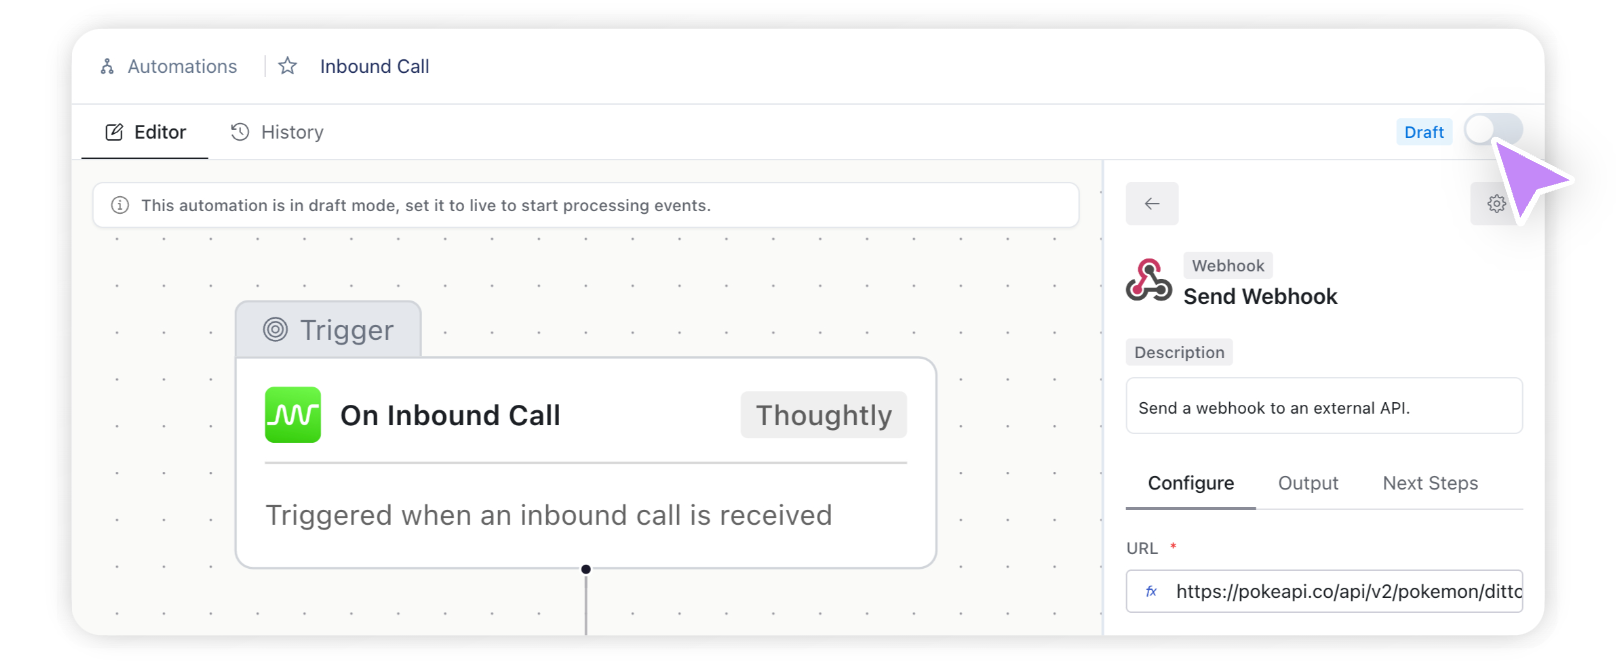
Troubleshooting
If your automation isn’t working as expected:- Verify automation is set to “Active” (not Draft)
- Check trigger event configuration in Triggers documentation
- Review data mapping and field paths in Actions documentation
- Test steps individually using Draft mode
See also
- Triggers - when and why automations run
- Actions/Steps - what automations can do, variables, and data mapping
- Attributes vs Metadata - data persistence patterns
- Agent Actions - mid-call actions vs automation steps
- Glossary: Workflow - understanding automation concepts
Triggers
Learn more about the different Triggers available in Thoughtly ->